Short description of the topic
Children will get to know the first photograph in the world and learn about its creation. Together, they create a camera obscura (dark chamber) with which they will learn about the characteristics of the journey of light.
Learning outcomes
-
Competencies
- Media competence: the history of photography
- Motor competence: making a camera
- Natural science competence: learning about the properties of light
-
Target group
4 years and up- Small groups
-
Required materials
- room with a window
- black poster board
- flashlight
- utility knife
- duct tape
-
Materials
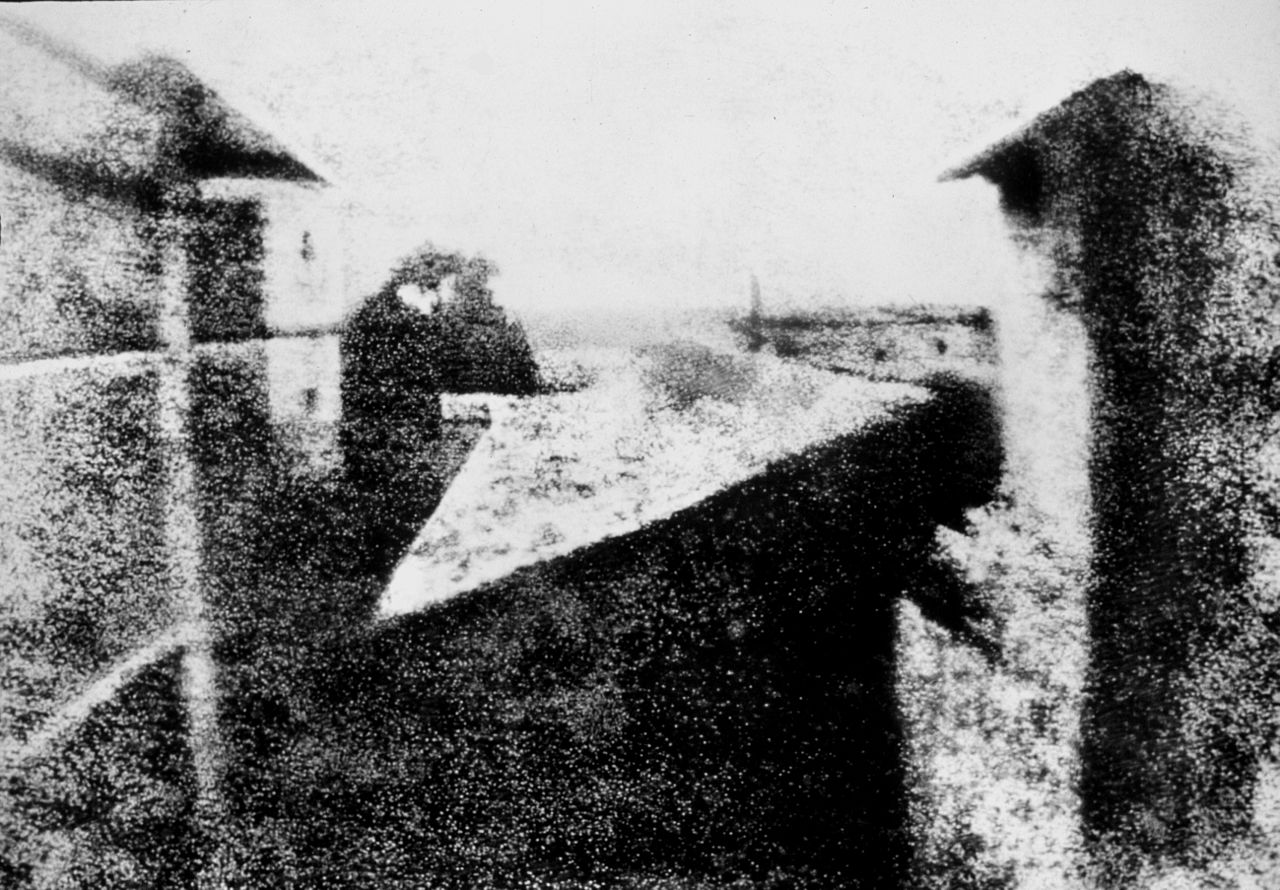
- Photograph view from the window at Le Gras
Download
(.pdf 112.74 KB)
Description of the activity (step by step)
Preparation:
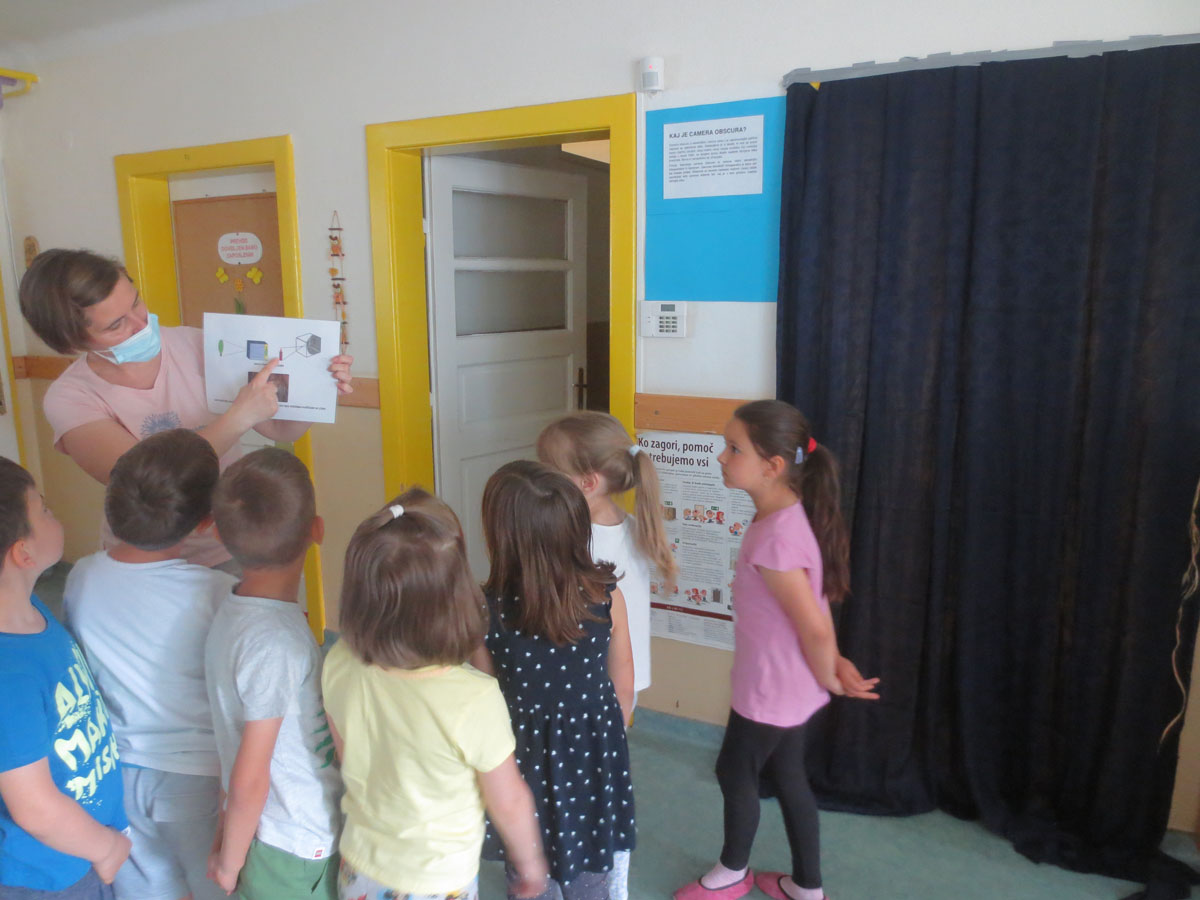
Gather the children and show them the first photograph in the world. Together, try to figure out what the photo depicts. Think about the way people portrayed the world before photography. Briefly explain that Niépce and Daguerre invented a technique that allowed them to take a photograph. They used a camera obscura and the light fell on a plate, which they coated with special chemicals so that the plate acted like a special kind of mirror on which the image was permanently imprinted on.
Implementation:
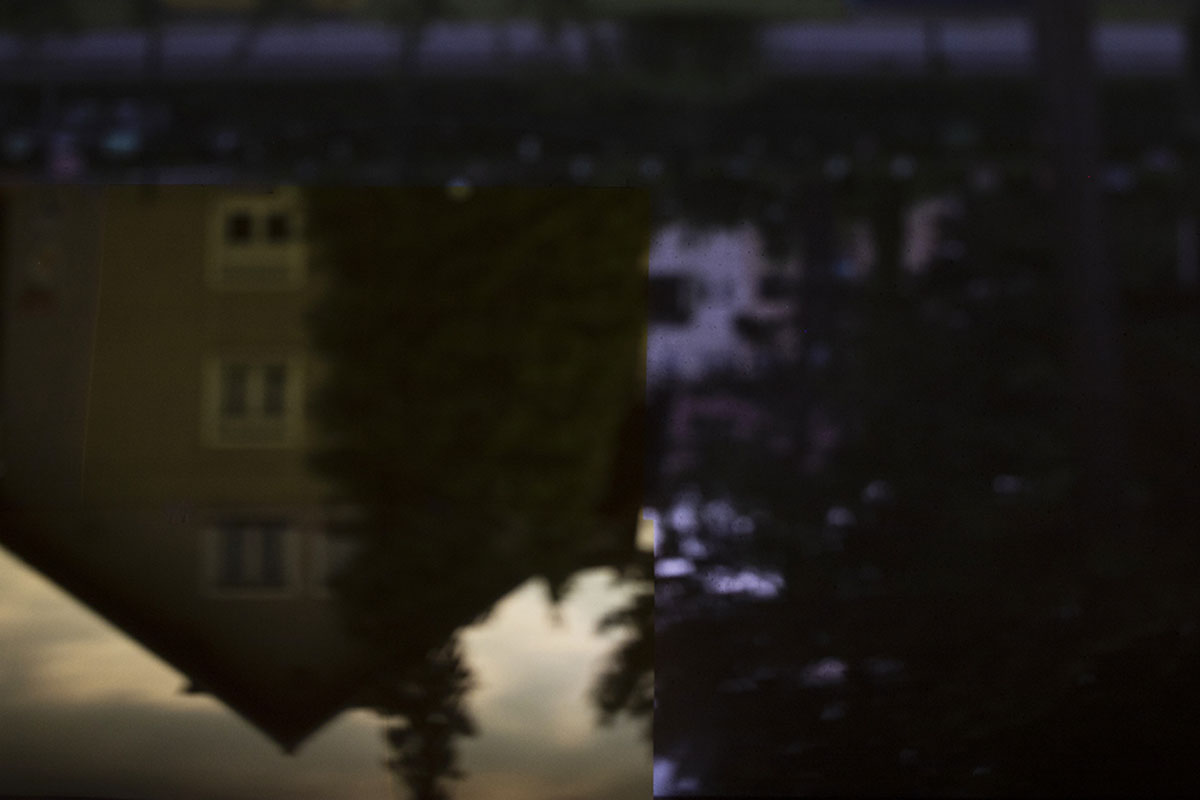
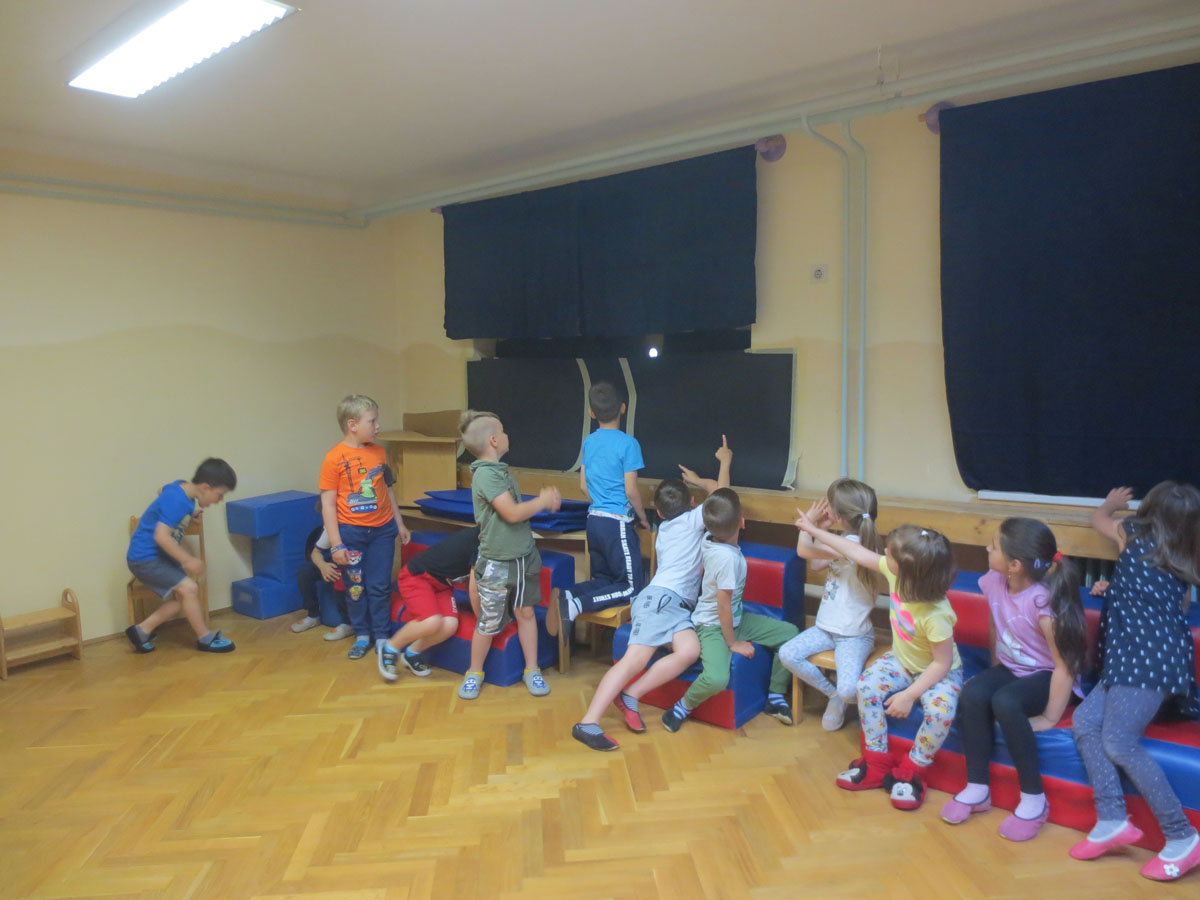
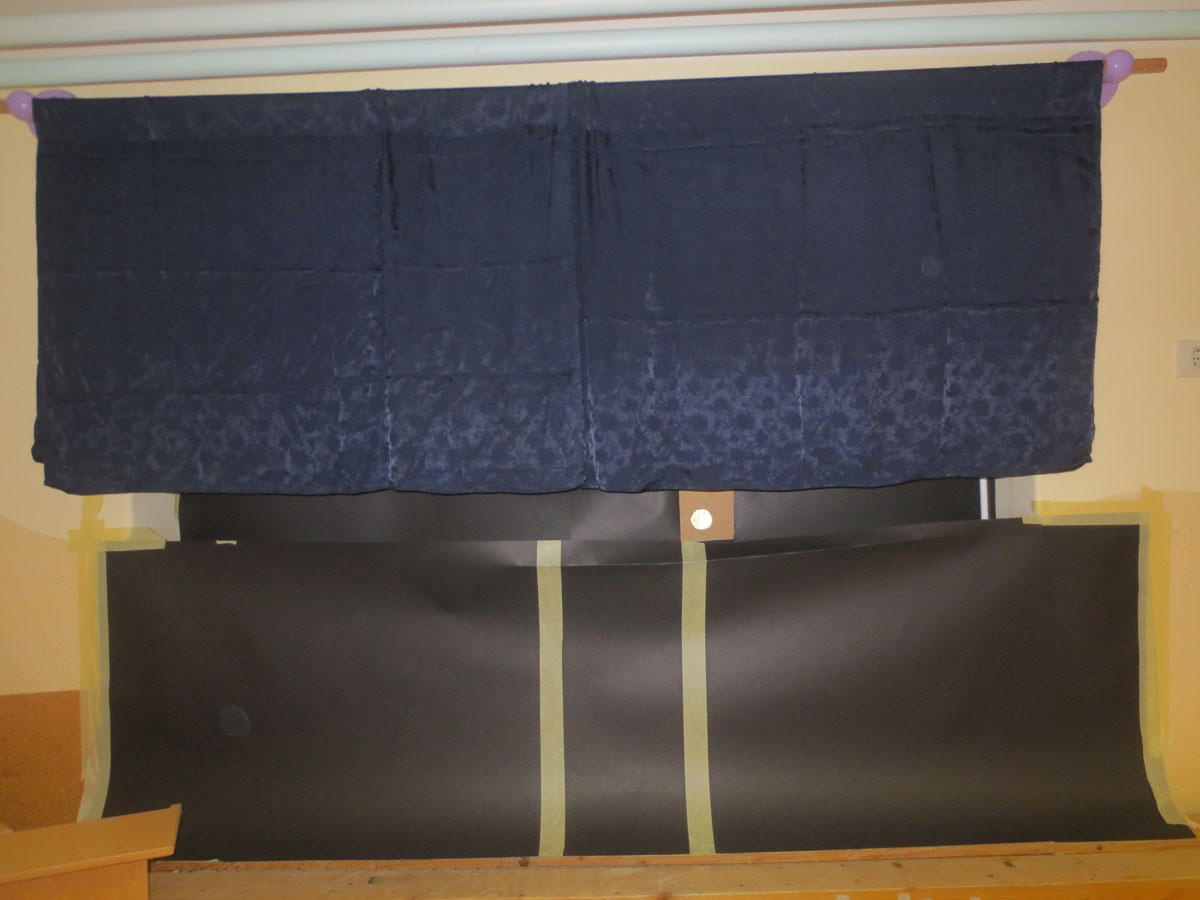
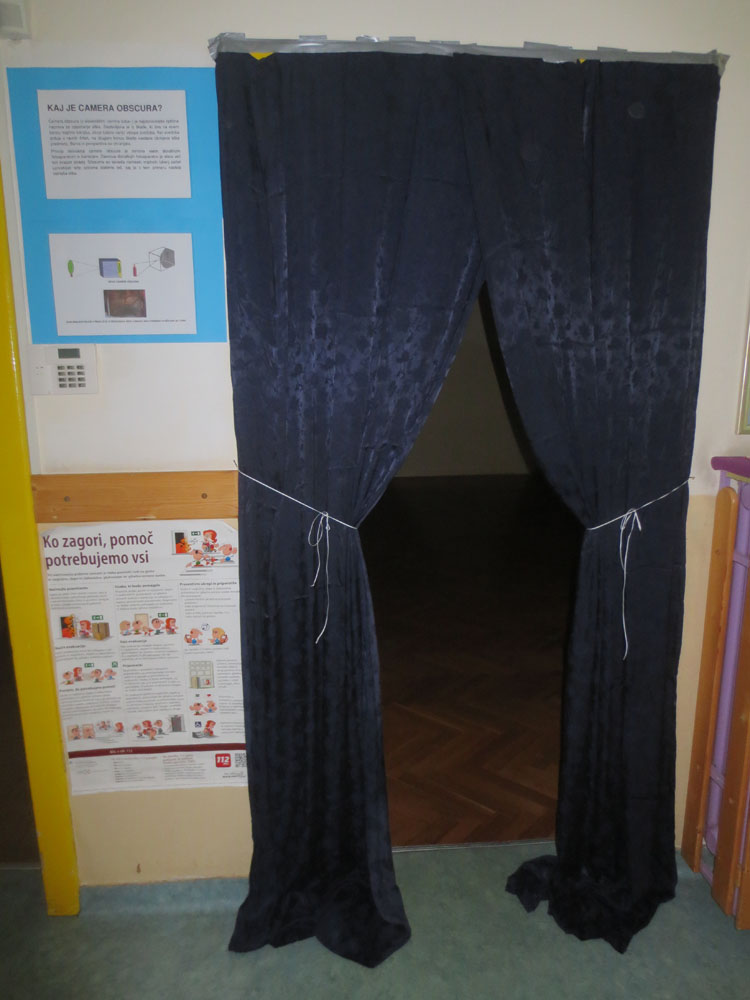
Encourage children to make their own Camera obscura - a darkroom. Follow the instructions to create your own darkroom. The easiest camera obscura is created in a room where there are as few windows as possible and it can be completely darkened. With the help of the camera obscura, observe together how the world on the other side of the window is projected onto the screen.
Reflection:
Talk together about what the kids see. Do they recognize the surroundings? Do they notice anything special? Children will certainly point out that the image of the surroundings reflected in the camera obscura is upside down. Explain why this is so! Also, tell the children that their eyes work the same way. Because their eyes are also small holes that let in light, the images turn upside down as they travel through them. Fortunately, our brains know how to turn images in the right direction again. Remind them that Niépce and Daguerre also created their image using this principle and explain that all of today’s cameras also work that way, only using a lens instead of a hole.
Variations and additional ideas
You can also choose to make a handheld camera obscura. You can find plenty of ideas online. A bigger project for the whole kindergarten would be the construction of a free-standing camera obscura in the kindergarten yard.
Background information and didactical perspective
Instructions for creating a camera obscura: https://www.youtube.com/watch?v=yvWX6-0_VHU
How does a camera obscura work:
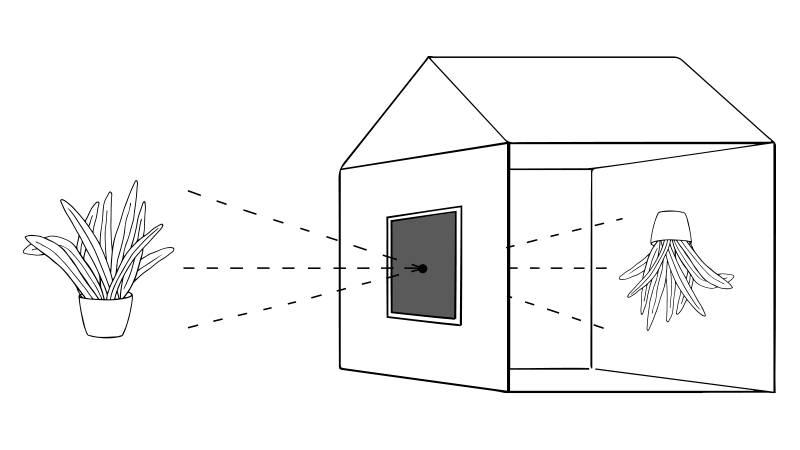
If light falls through a small hole into a darkened space, it creates an upside-down projection of the outside space. The image above shows two light beams entering through a hole from two extreme points of an object. The small diameter of the hole causes the rays to fall through it in such a way that the painted image is turned upside down.
Materials
Photograph view from the window at Le Gras
Photos of the activity